Moist Zucchini Bread Recipe
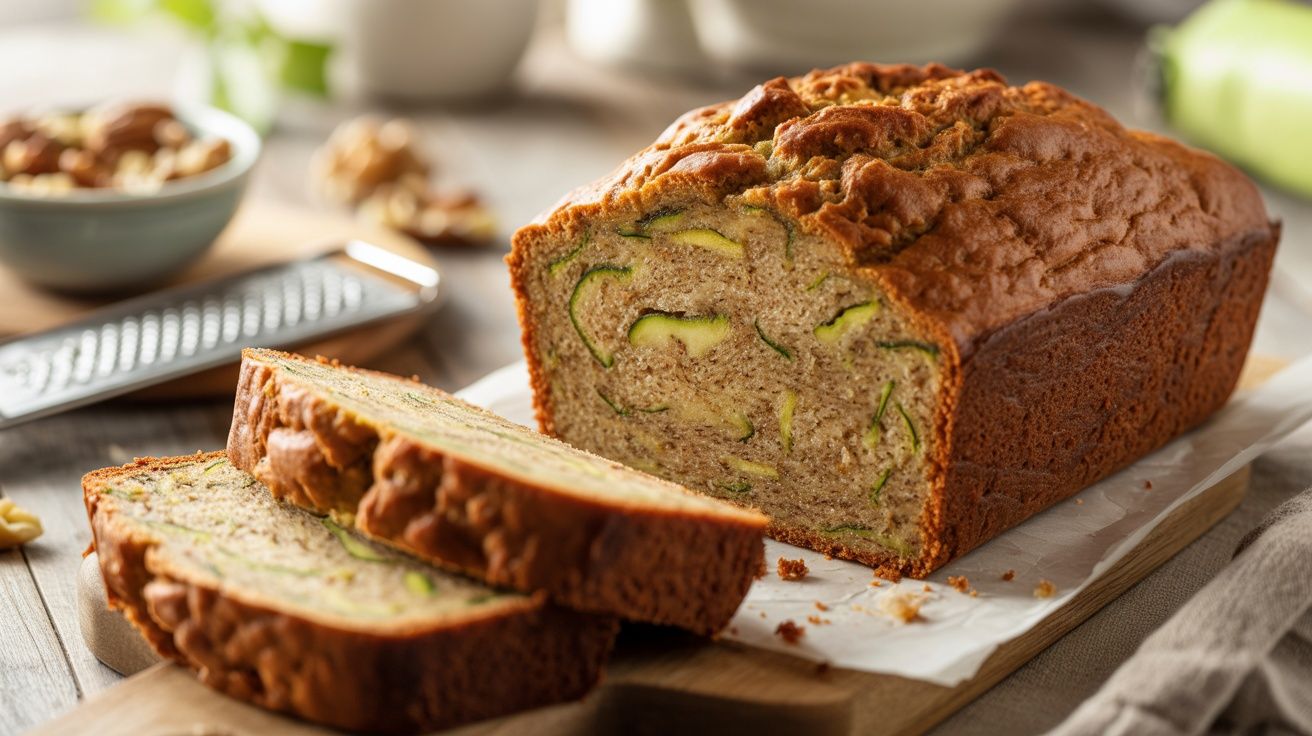
This easy zucchini bread recipe combines shredded zucchini with all-purpose flour, sugar, and a blend of spices to create a delicious quick bread that’s perfect for breakfast or a snack. Jump to Recipe The addition of walnuts or chocolate chips adds a delightful texture and flavor. With simple wet and dry ingredients, this recipe yields … Read more