Creamy Chicken and Wild Rice Soup Recipe
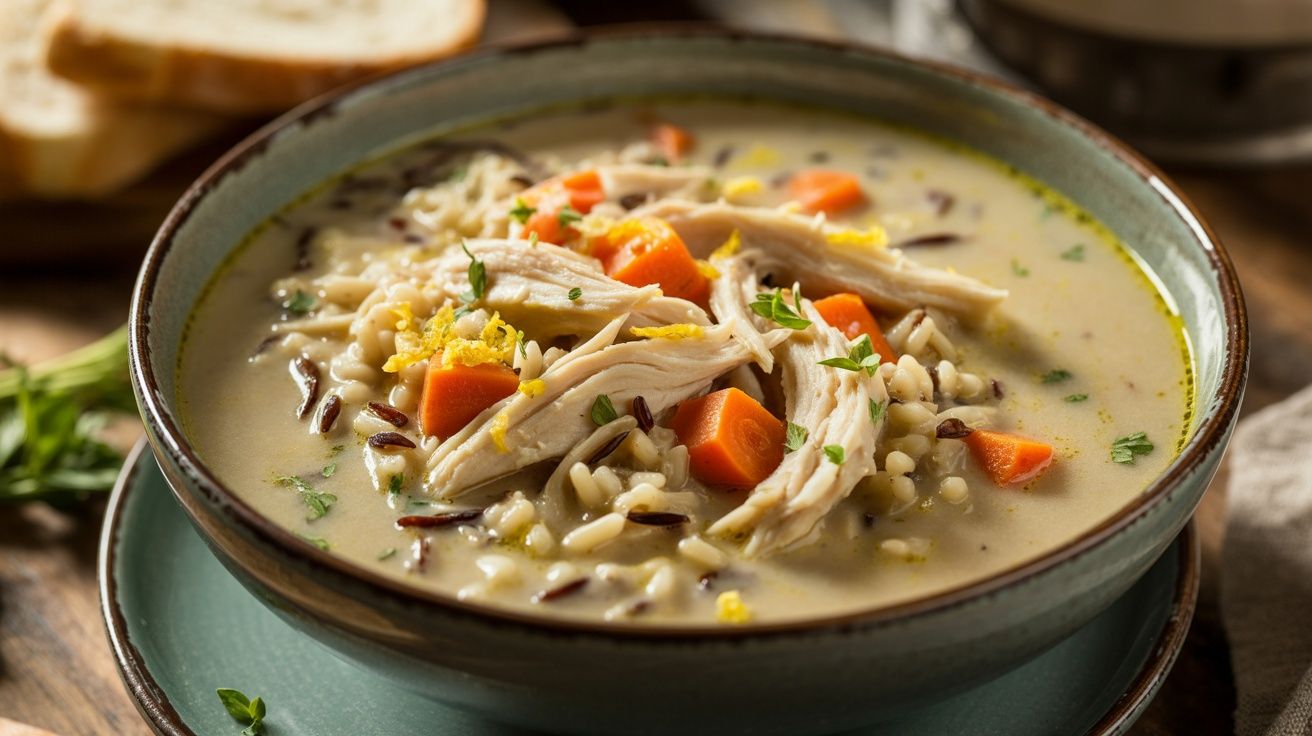
This creamy chicken and wild rice soup is a rich and satisfying dish that combines tender chicken, a wild rice blend, and a velvety creamy broth. It’s perfect for a comforting meal on a chilly day. Jump to Recipe The recipe features a classic mirepoix of onions, carrots, and celery, sautéed in butter, and is … Read more